Admin Guide | Security Overview | Micro Call Center Guide | Contact
Admin Guide
Prerequisites
- Confirmed VRI account in CLI’s system
- Confirmed admin account in MERFi
- A temporary password to log in
- Minimum Requirements document reviewed and accepted
- Visit the MERFi Admin Support Hub for additional documents and FAQs, https://certifiedlanguages.com/support-hub-for-admins/.
Section 1: Changing your Password
Your CLI representative will give you a temporary password to log in. We recommend you change your password as soon as possible.
To change your password:
- Visit the MERFi “Admin Log In” page.
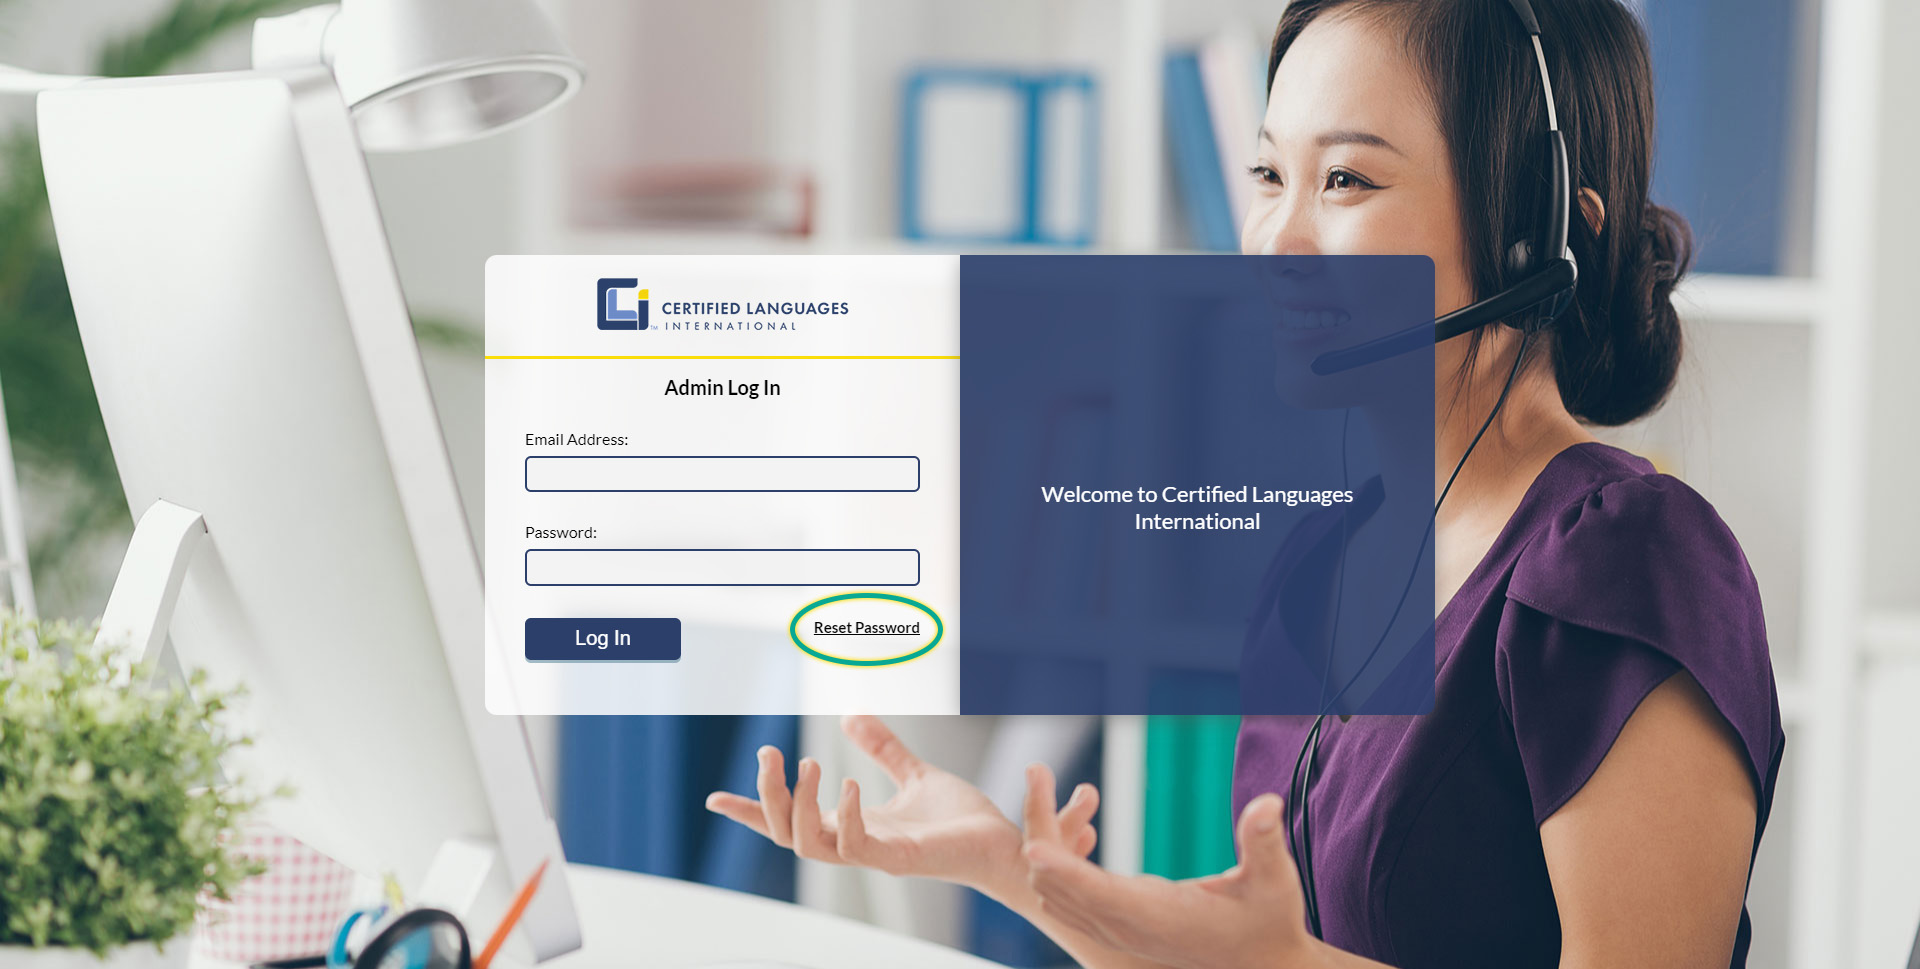
- Click Reset Password.
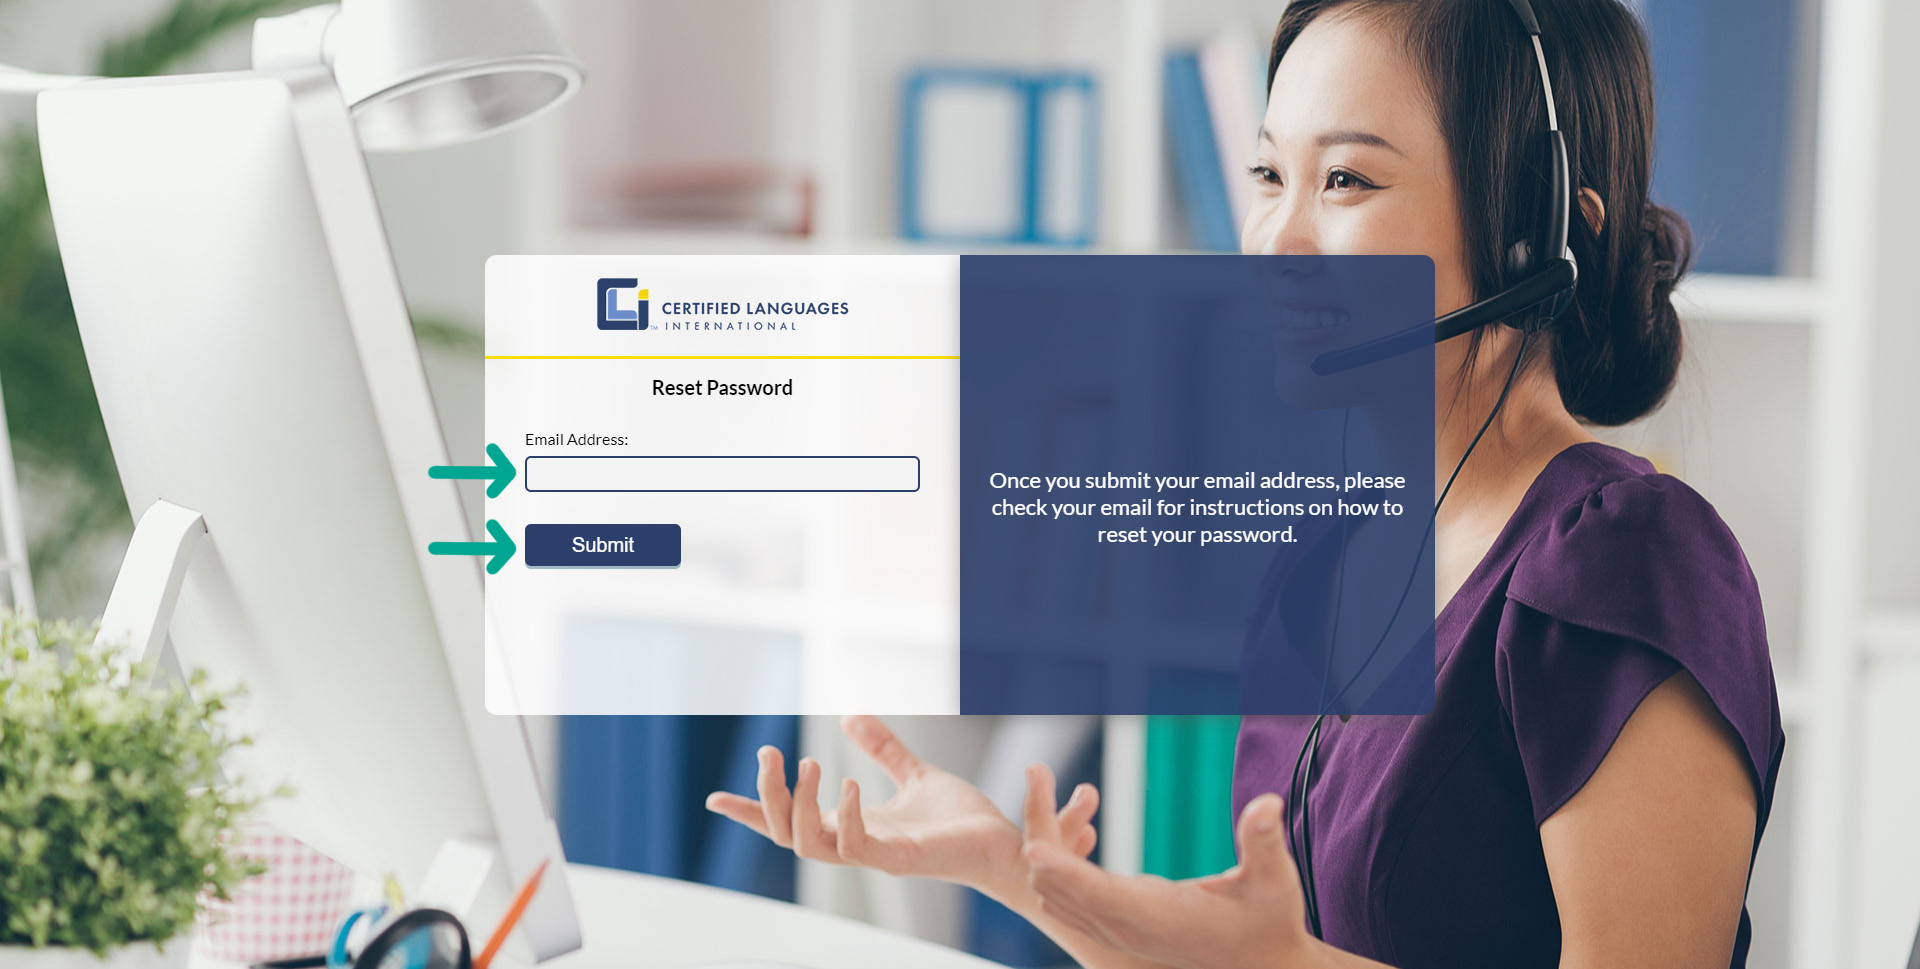
- Enter your email address, and click Submit.
- You will receive an email from DoNotReply@certifiedlanguages.com with the subject “Forgot Password Notification.”
- Click the link in the email to reset your password. You’ll be directed to a new page.
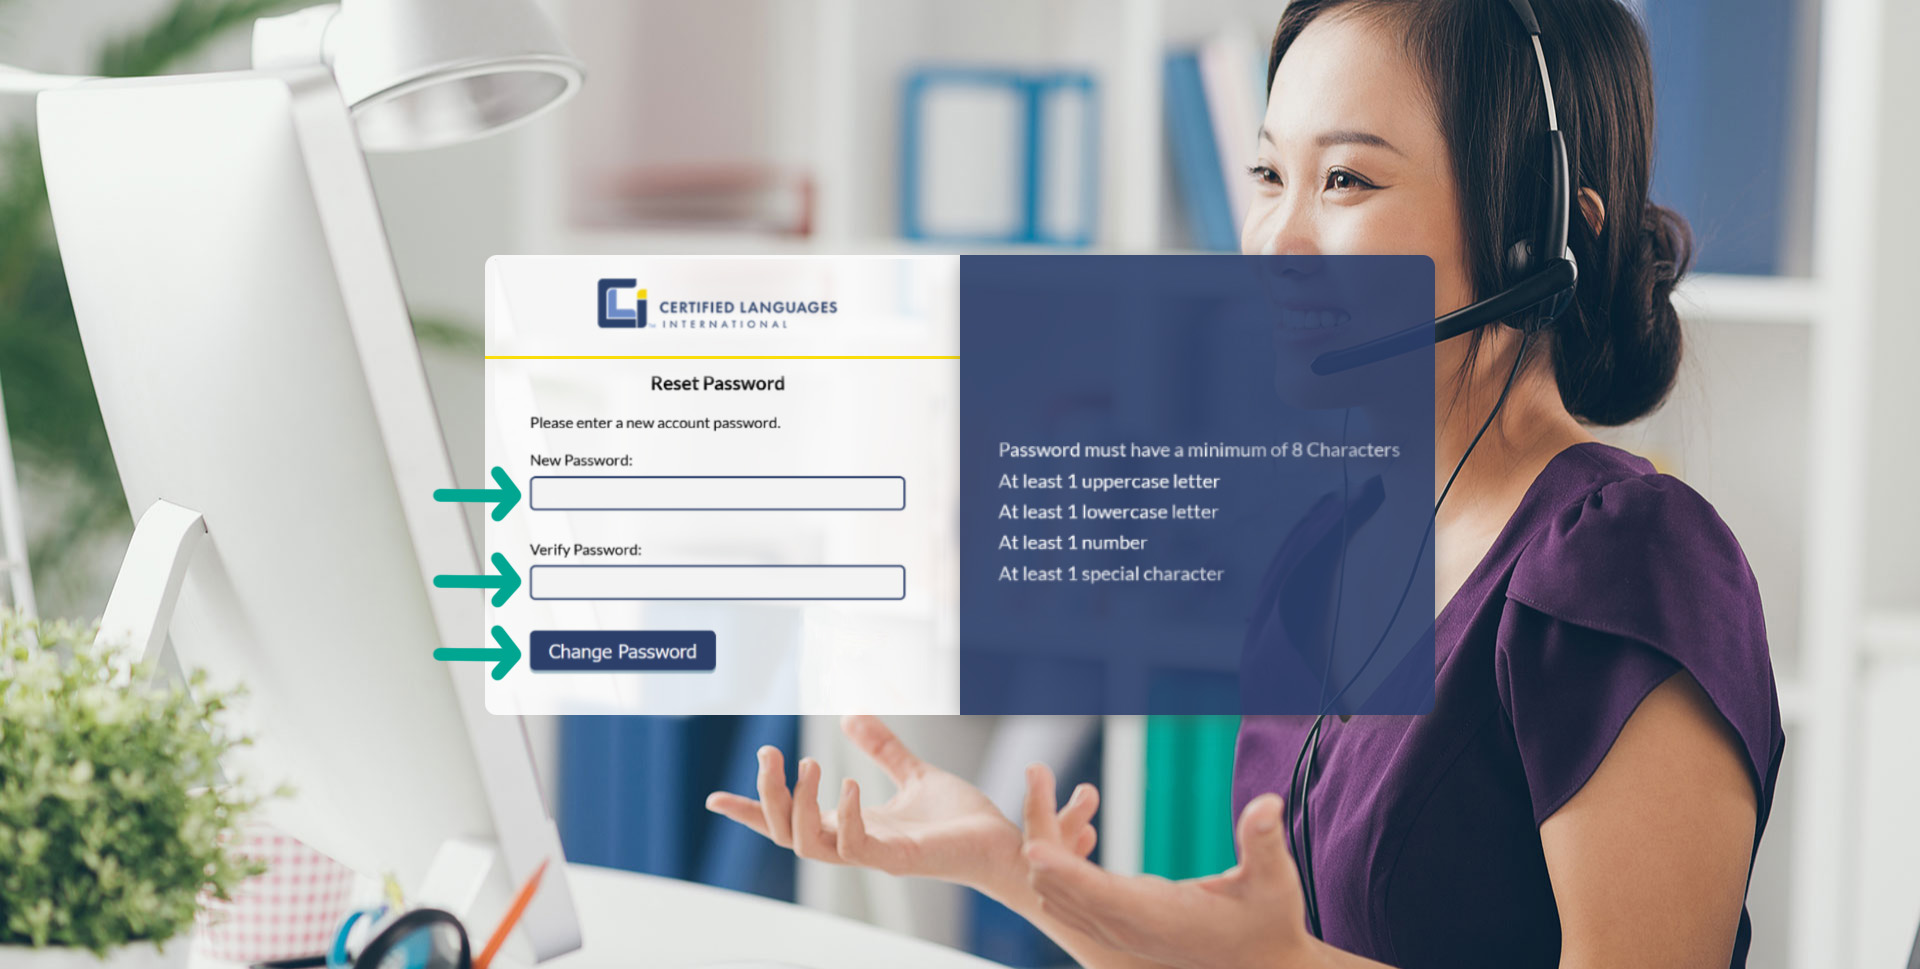
- Type your password in the New Password field. Repeat password in the Verify Password field.
- Note: Password requirements are located to the right.
- Click Change Password.
Section 2: Logging In
- Visit the MERFi Admin Log In page.
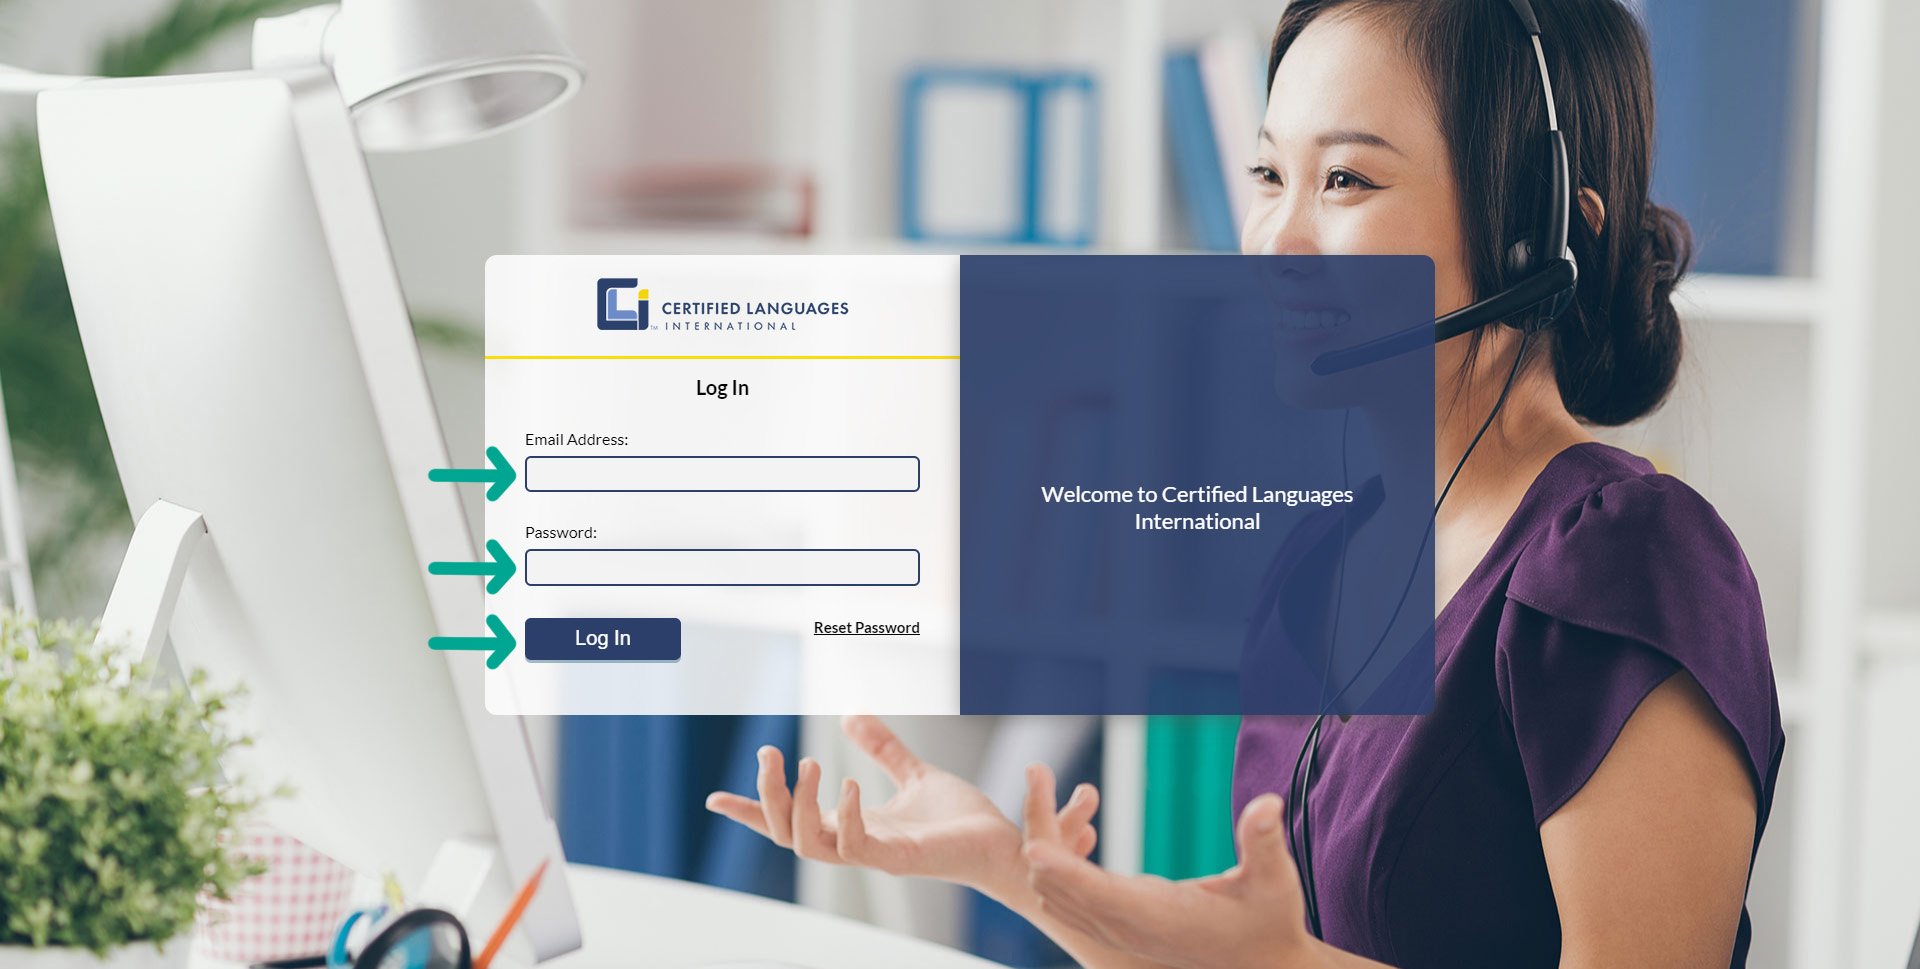
- Log in with your email address and password.
- Once logged in, your home screen will display the following tabs: Customers, Interpreters, Admin Users, and Interpreter Activity.
The Interpreters and Interpreter Activity tabs are for organizations that host their own interpreters on the platform. If your organization does not, please ignore these tabs, as they will not function.
Section 3: Customers Tab
Search and view main accounts and child accounts (if applicable) under the Customers tab.
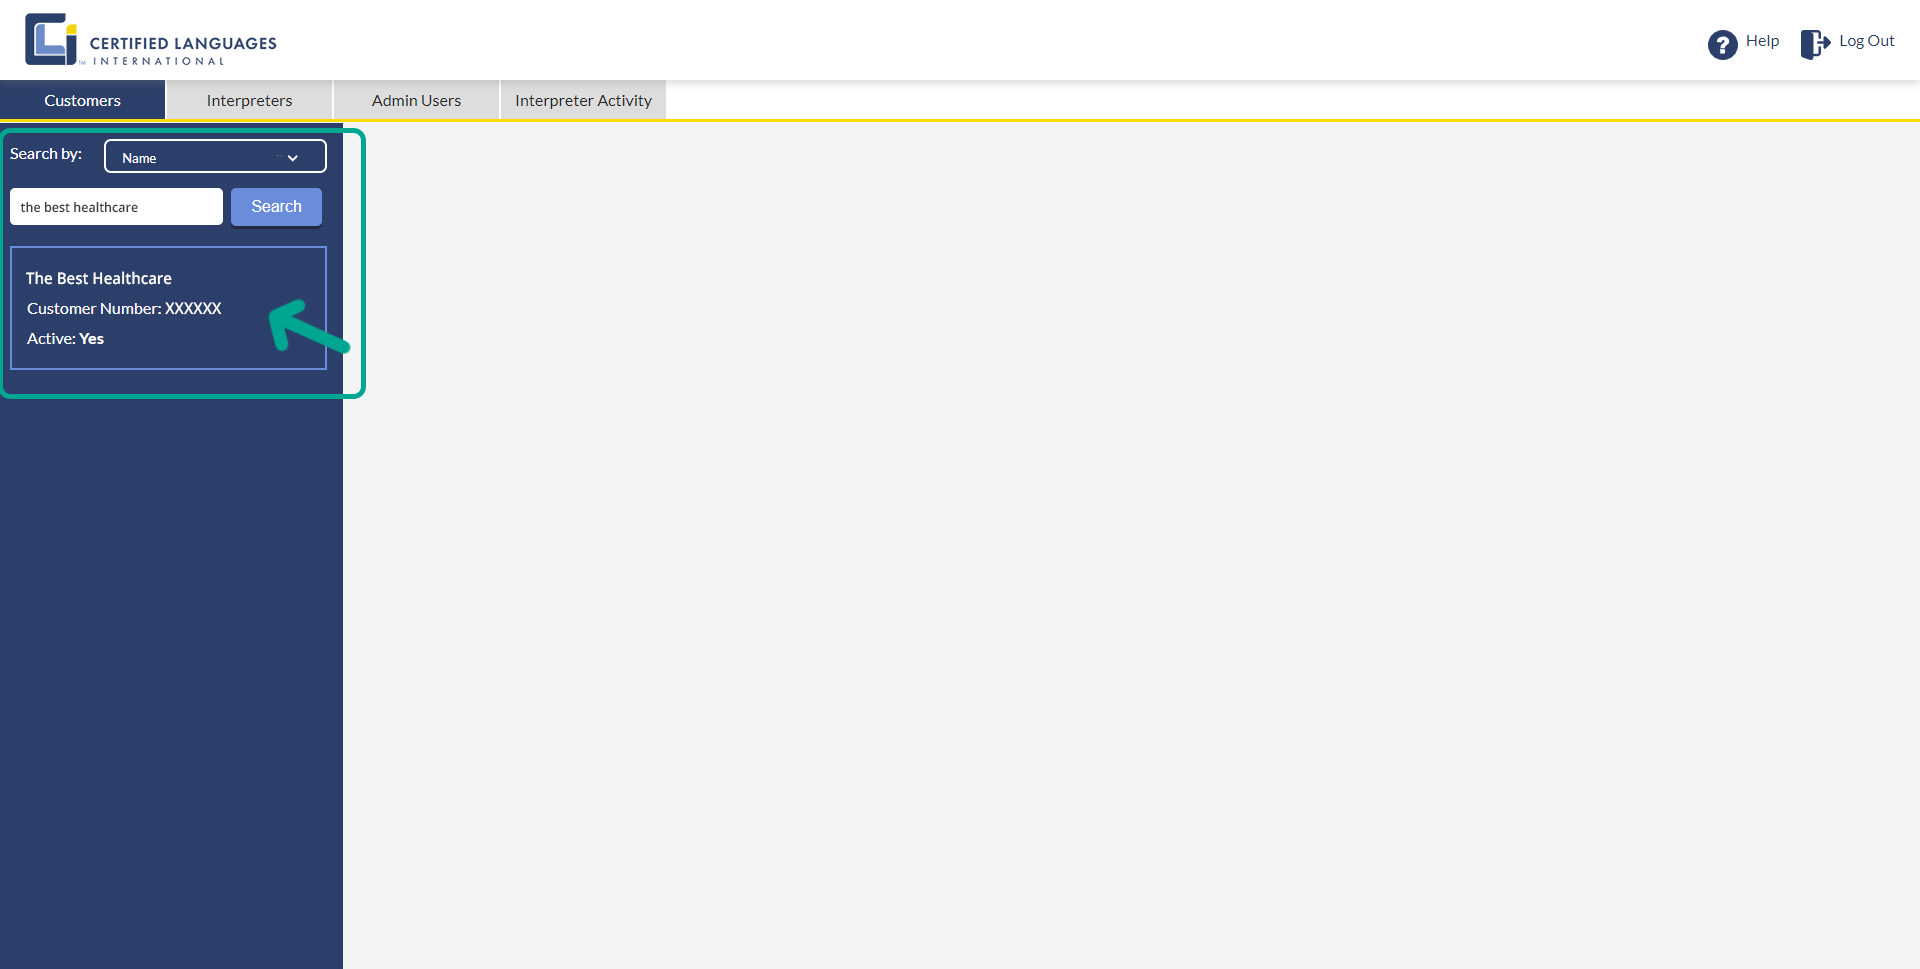
- Click on the Customers tab.
- To search for a customer or group of customers, select Name, Parent Name, or Customer Number under the Search by dropdown.
- Enter search criteria in the Search pane, and click Search.
- Note: Please make sure your search criteria are spelled correctly. Your results may not return if there are misspellings.
- Click on the applicable result to display customer profile details.
Personal Profile Settings
The customer profile displays customer information and settings.
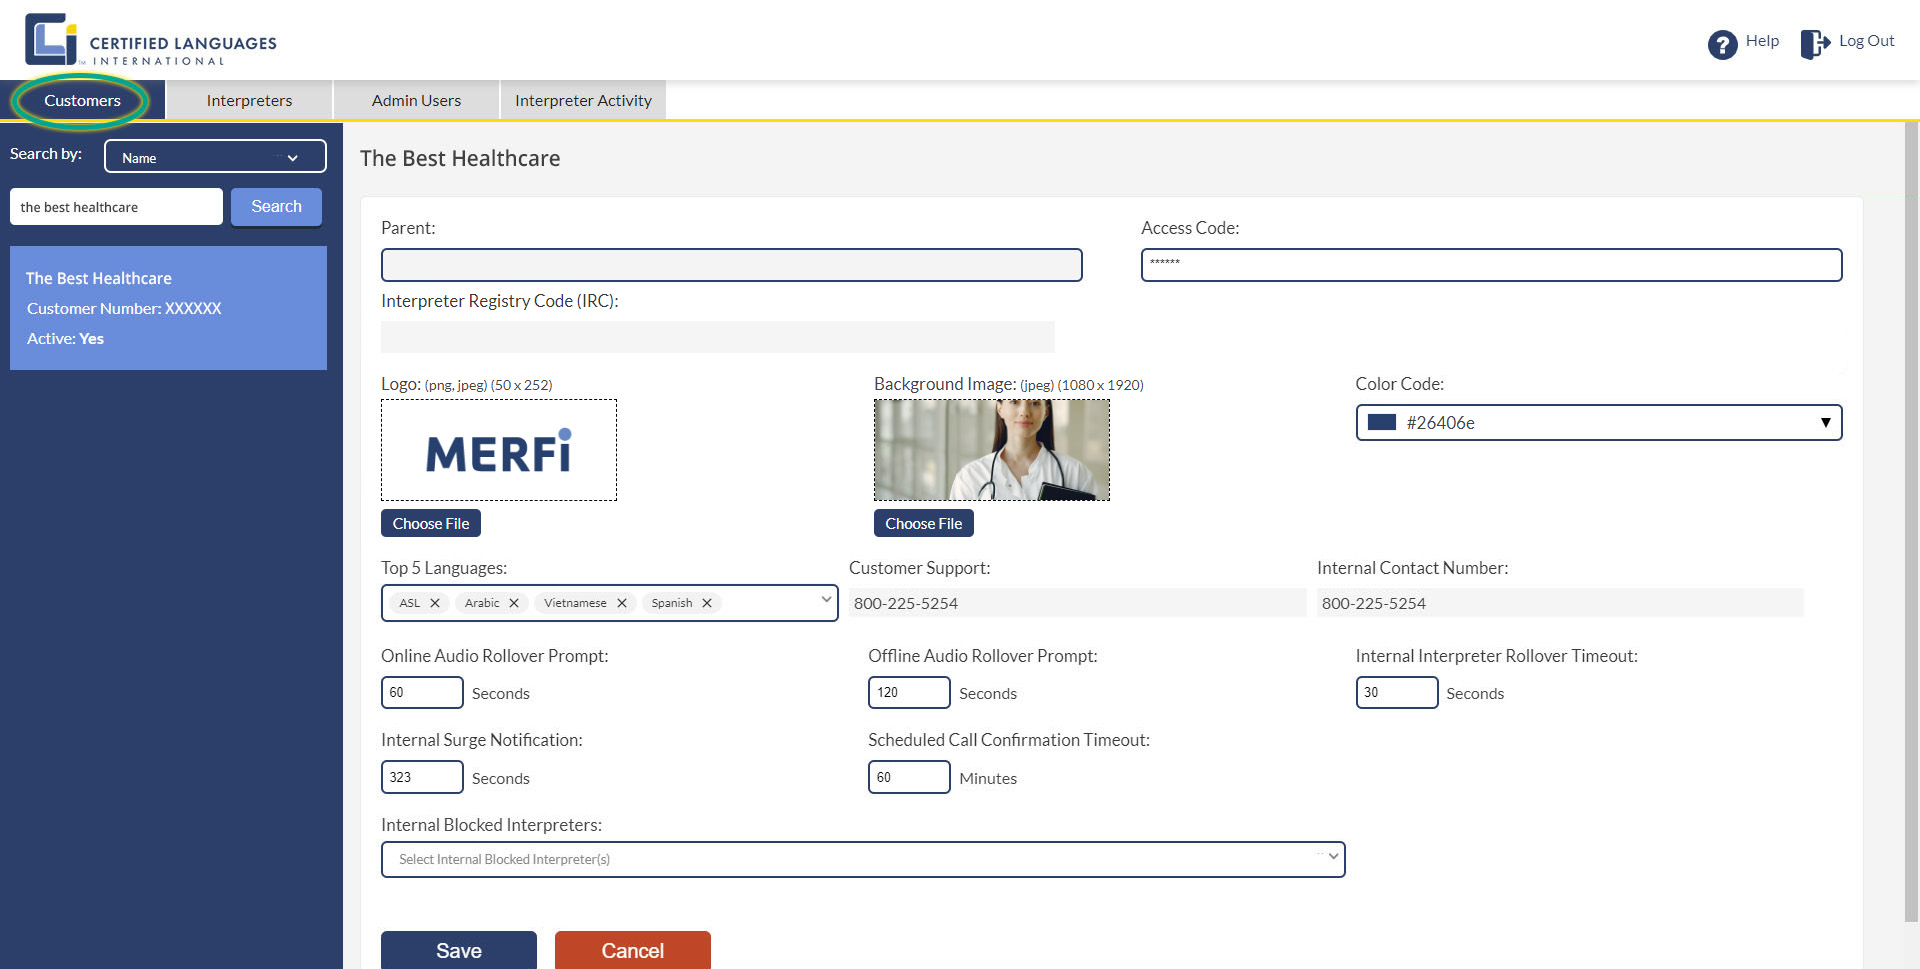
Parent
The Parent field is preset in CLI’s internal system. It cannot be changed without contacting your account representative.
Interpreter Registry Code (IRC)
The Interpreter Registry Code (IRC) is present in CLI’s internal system. It cannot be changed without contacting your account representative.
The registry code is for organizations that are required to follow state-specific legislation to prioritize connections with interpreters holding specific certifications. When populated, it will display the certification code that ensures CLI’s system is prioritized certified or qualified interpreters specific to your legal requirements.
Access Code
- To change the Access Code for your account, enter your desired code in the field, and click Save.
- Verify if the updated Access Code can be used to log in to the customer portal.
- Note: Access Codes are alphanumeric and case sensitive. They need to be a minimum of 6 characters.
Changing your Access Code will change it for your entire division or organization, and you will need to redistribute it to your staff before they can use MERFi again.
Logo
- To add your organization’s Logo, select Choose File.
- Select the desired logo from your computer.
- Once your logo is uploaded, click Save.
- Verify if the Logo updated by logging in to the user portal.
Logo must be:
- PNG or JPEG
- Size: 250 pixels x 50 pixels
- High resolution (recommended)
Background Image
Your Background Image is displayed on the login and billing screens of the user portal.
- To upload a background, click Choose File.
- Select the desired image from your computer.
- Once your background image is uploaded, click Save.
- Verify if the Background Image updated by logging in to the user portal.
Background image must be:
- JPEG
- Size: 1920 pixels x 1080 pixels
- High resolution (recommended)
Color Code
The Color Code changes the accent colors on the MERFi user portal. This includes icon and button colors.
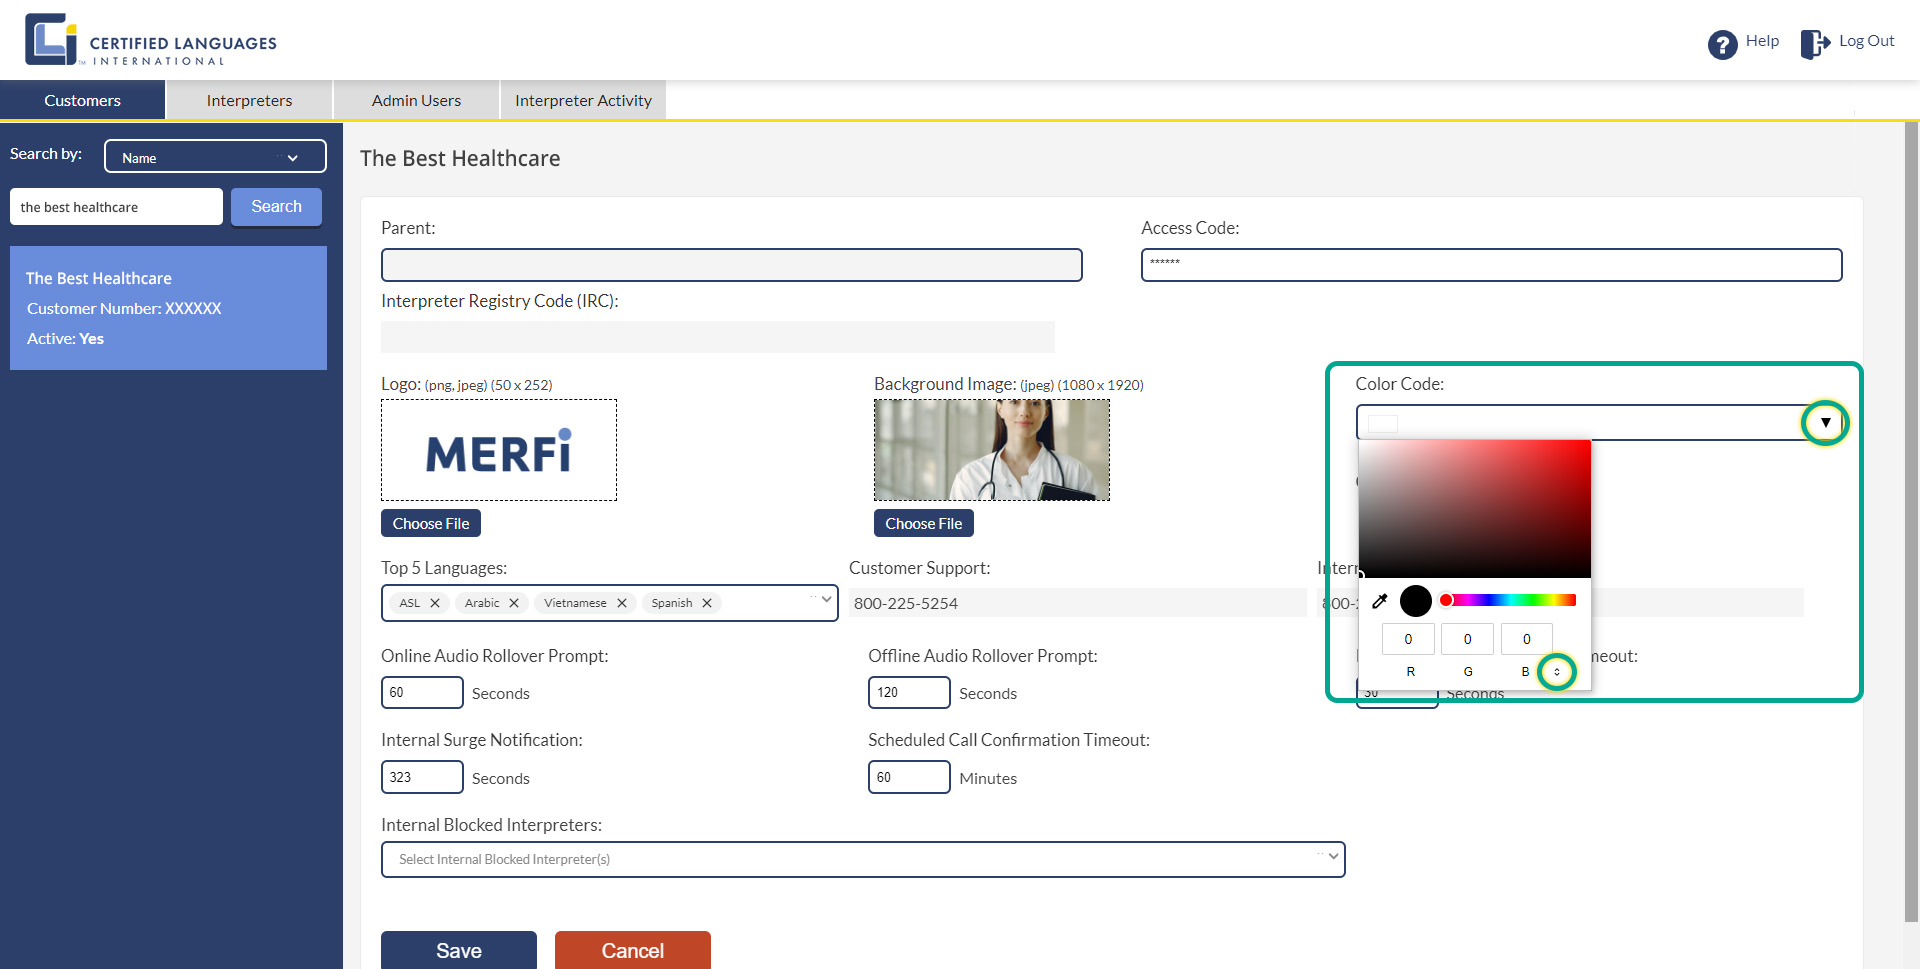
- To change your accent colors, click the dropdown on the Color Code menu.
- Select your desired color one of two ways:
- Use the color slider to select the hue.
- Then use the dropper or click directly on the color palette to choose how light or dark you want your color.
- A sample of your chosen color displays to the right of the dropper icon.
– OR –
- If your branding guide specifies RGB, HEX, or HSL values, enter them if desired.
- Click Save.
- Verify if the Color updated by logging in to the user portal.
Note: Changing the color will not affect the colors in the admin portal.
Users may need to refresh their screen or clear their cache in order for the Color, Background Image, and Logo to change.
Top 5 Languages
Choose up to five languages to display in the user platform. All video languages will be available; the selected five languages are shown as visual tiles for easy access.
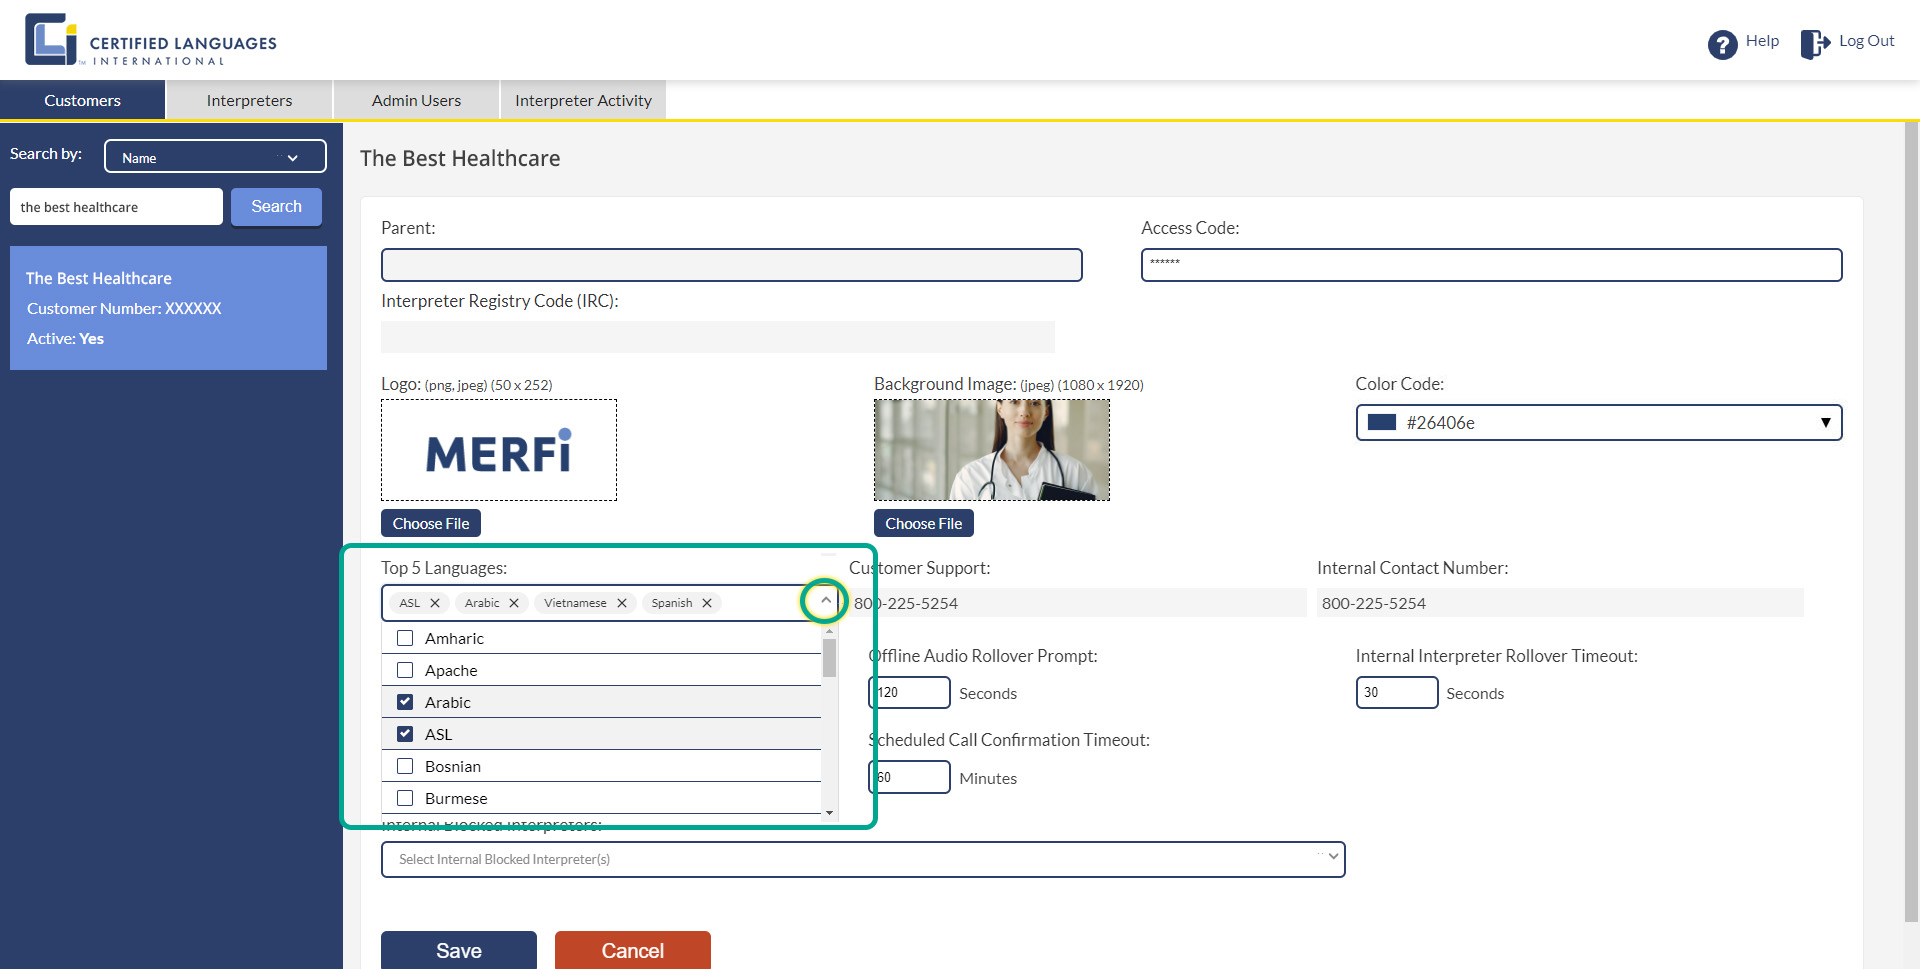
- Click the dropdown.
- Tick the boxes of up to 5 languages.
- Untick a box or click the X on the language tile to remove a language.
- Click Save.
- Verify if the Top 5 Languages updated by logging in to the user portal.
Customer Support
The Customer Support number is CLI’s help desk phone number. It’s published in the help menu of the user portal. Users can contact us anytime for support using this phone number.
Internal Contact Number
The Internal Contact Number is customizable and can include the internal phone number of your choosing.
We recommend using your IT Department’s contact information. Some issues, such as bandwidth, are out of CLI’s control, and will require internal support.
To update your Internal Contact Number, please contact the primary contact on your CLI account. If you don’t know who this is, contact us at customersuccess@certifiedlanguages.com or (800) 362–3241, ext. 7, and we’d be happy to help.
Online Audio Rollover Prompt
The Online Audio Rollover Prompt is the amount of time a user will wait for a video interpreter before being notified that all video interpreters are busy.The user will have the option to cancel the call, continue to wait, or switch to audio.
The default value is 60 seconds.
To customize:
- Type a numeric value in the field.
- Click Save.
Offline Audio Rollover Prompt
The Offline Audio Rollover Prompt is the amount of time a user will wait before being notified that no video interpreters are available.
The default value is 120 seconds.
To customize:
- Type a numeric value in the field.
- Click Save.
Internal Interpreter Rollover Timeout, Internal Surge Notification, Scheduled Call Confirmation Timeout, and Internal Blocked Interpreters
These fields are for customers hosting their own interpreters on the platform and will not function otherwise.
If your organization employs interpreters and you’d like more information on adding your organization’s interpreters to the MERFi platform, please contact your account representative.
IRC Rollover Timeout
The IRC Rollover Timeout is the amount of time an interpreter with the required IRC certification will have to answer a call before the call rolls over to interpreters without the certification. This field will only be displayed if the Interpreter Registry Code (IRC) field is populated.
The default value is 30 seconds.

To customize:
- Type a numeric value in the field.
- Hit Save.
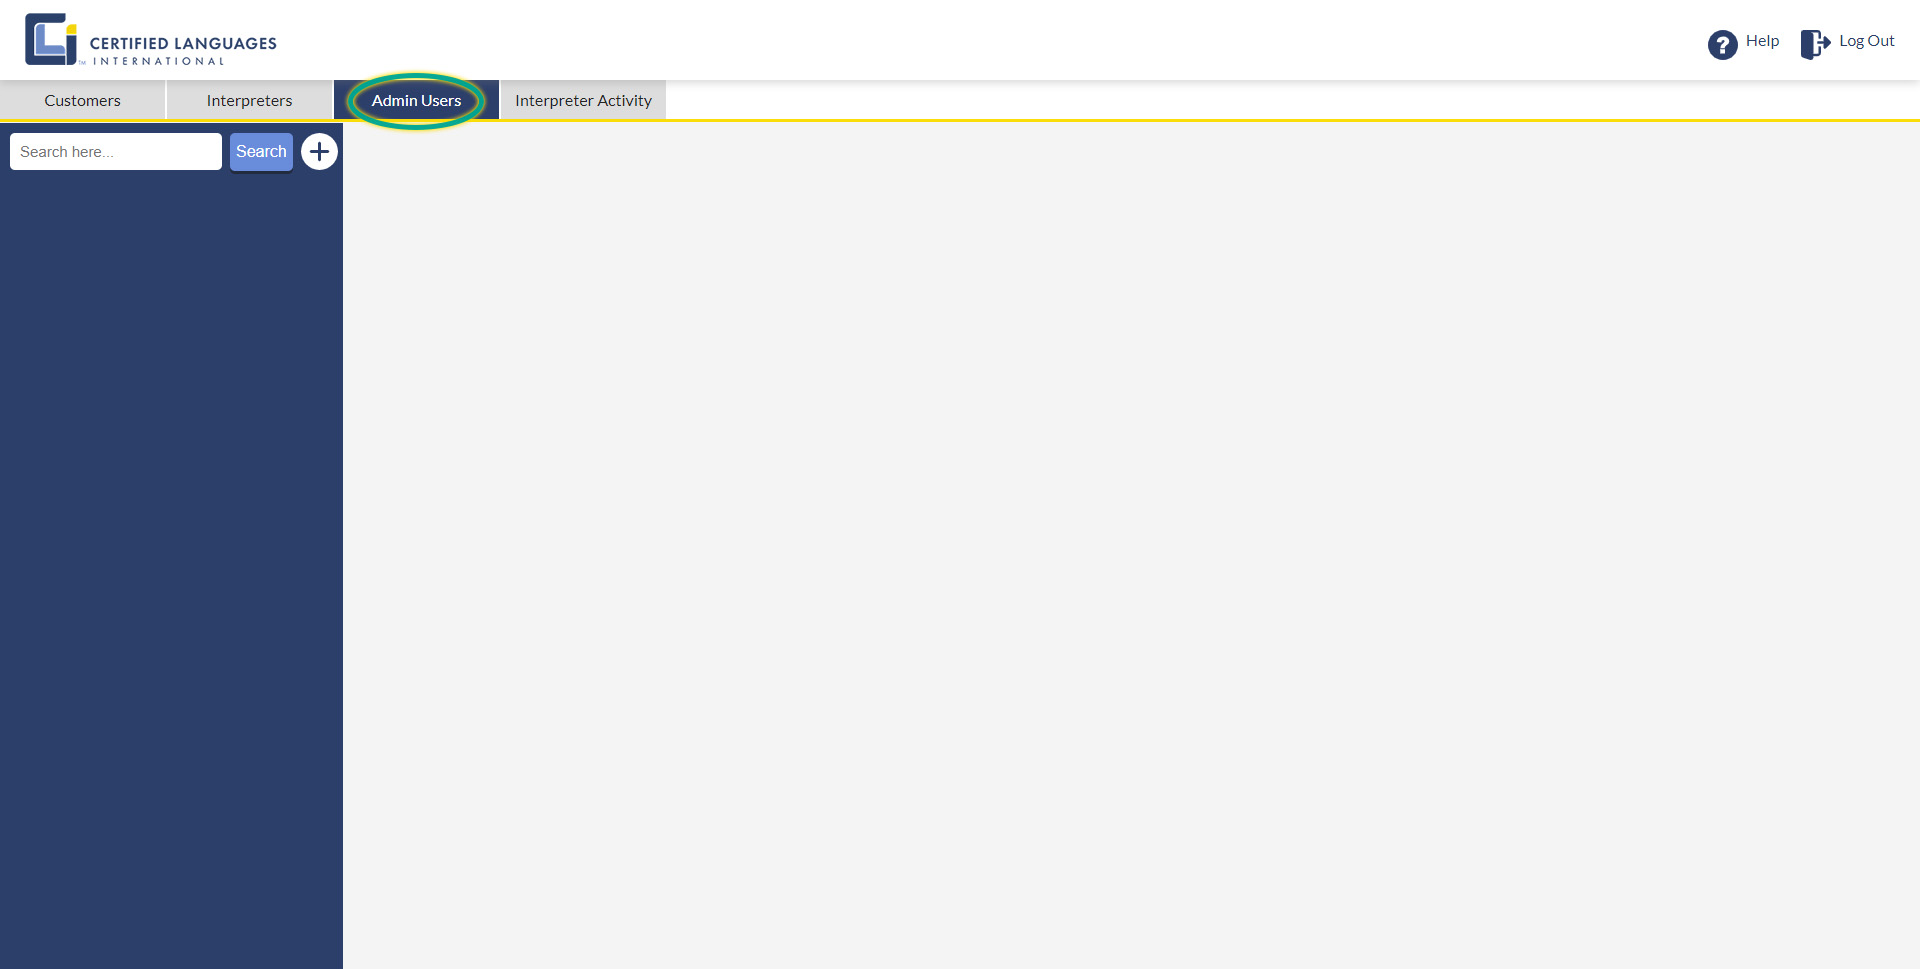
Section 4: Admin Users Tab
Add admin users or change personal profile settings under the Admin Users tab.
Personal Profile Settings
- To update Personal Profile Settings, select the Admin Users tab.
- Enter the name associated with the admin account you are looking for into the Search pane, and click Search.
- Note: Please make sure your search criteria are spelled correctly. Your results may not return if there are misspellings.
- Click on the name. From here you can:
- Update the Name associated with the admin account.
- Update the Password.
- Activate or Deactivate an account.
- Make your changes, and click Save.
You cannot change the Customer or User Email fields associated with an admin account. If you need to make a change, deactivate the unwanted account and create a new one.
Add an Additional Admin User
- Select the Admin Users tab.
- Click the + (Plus) icon to the right of the Search button.
- A New Admin User profile will display to the right.
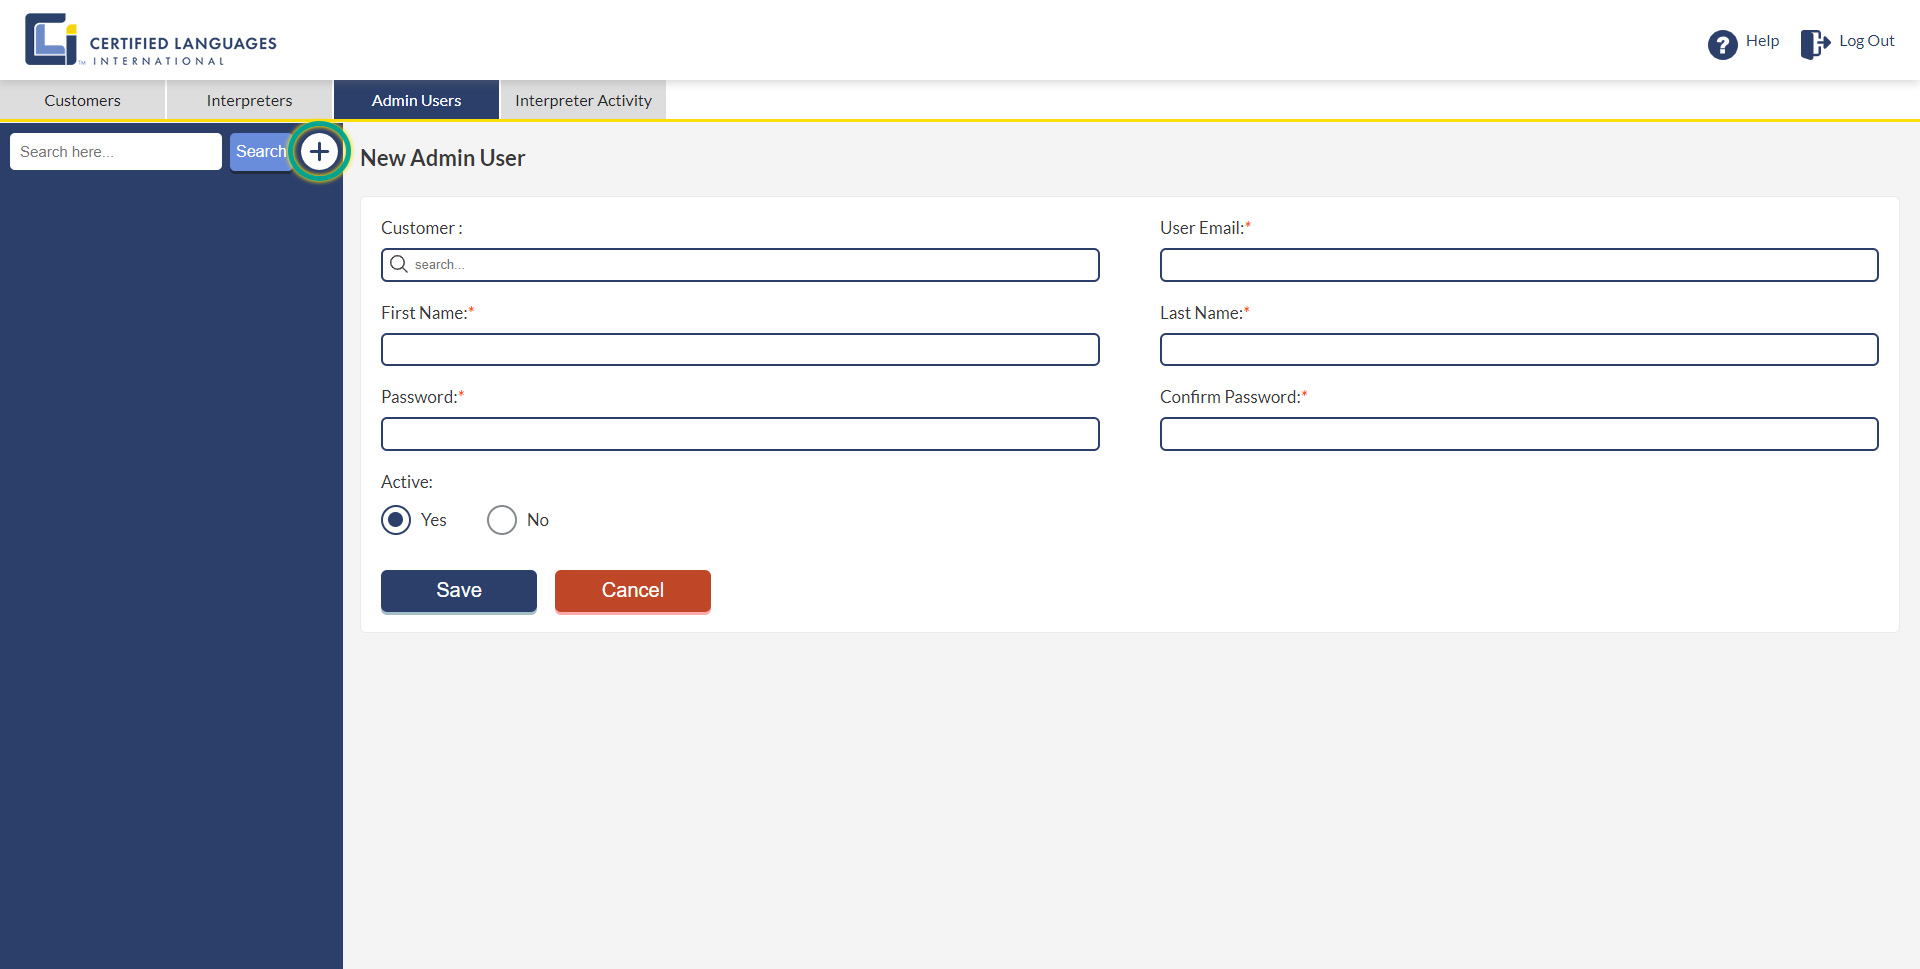
- Enter the organization or department you want the new admin associated with in the Customer field. Your organization or department will populate as you type.
- Note: If nothing is entered in the Customer field, the new admin user you create will be categorized under the same customer account as you. Double-check the Customer field is correct before clicking Save. You will not be able to edit after saving.
- Make your selection from the options presented.
- Note: If your organization or department is not populating, please contact your account representative.
- Enter the User Email address.
- Note: Double-check the email address is correct before clicking Save. You will not be able to edit the email address after saving.
- Enter their First Name.
- Enter their Last Name.
- Enter a Password and ConfirmPassword.
- Note: We recommend they change their password upon first login.
- Make sure Yes is marked under Active.
- Click Save.
To deactivate an admin user, navigate to their profile, and click the No button under Active. Click Save. They will no longer have access to their admin account. To reactivate, click the Yes button under Active, and click Save.
Section 5: Need Help?
Find helpful resources under the Help icon in the top right corner once logged in.
- Click the Help icon.
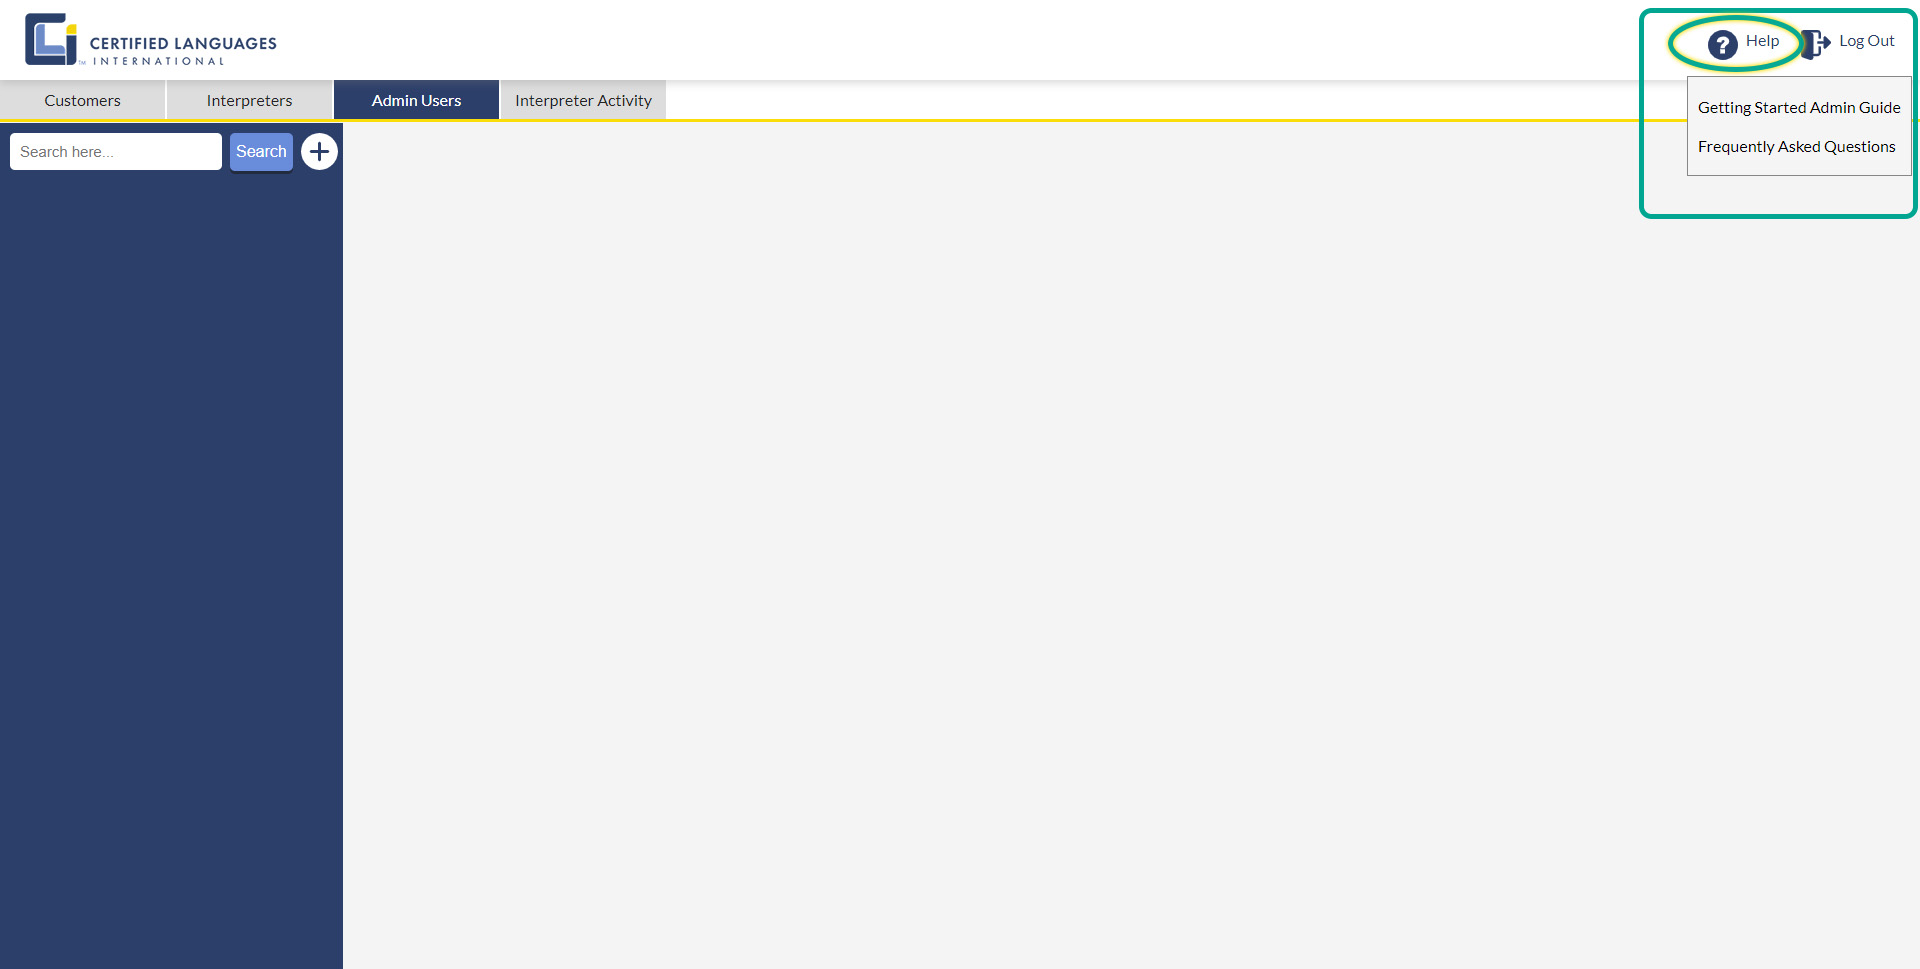
Getting Started Admin Guide
The Getting Started Admin Guide will take you to the MERFi Admin Support Hub, where you can explore the features available to you in the MERFi admin portal. Clicking on this link will direct you to an external website.
Frequently Asked Questions
The Frequently Asked Questions will take you to the MERFi Admin Support Hub. The FAQ page covers common questions we receive about using the MERFi admin portal. Clicking on this link will direct you to an external website.
If you need further assistance or have any questions, please contact your account representative.